The Ultimate Guide to Applying Highlighter Like a Pro
If there’s one makeup product that can instantly transform your look, it’s a highlighter. A few well-placed strokes can lift your features, add radiance, and make you look refreshed—even on days you feel otherwise. But here’s the catch: applying highlighter isn’t just about dusting shimmer on your face. It’s all about technique, placement, and balance. Too little won’t show, and too much can overpower your makeup.
Step 1: Pick the Right Formula
Highlighters come in different forms, and the best choice depends on your skin type and the look you’re going for:
-
Powder Highlighter – Perfect for oily or combination skin. Easy to apply with a brush, it delivers a subtle, buildable glow that lasts.
-
Liquid Highlighter – Gives a dewy, radiant finish. Lightweight yet luminous, it blends seamlessly with foundation or moisturizer.
-
Cream/Stick Highlighter – Best for normal to dry skin. With a creamy texture that melts into the skin, it offers a natural sheen and is great for on-the-go use.
💡 Pro Tip: Choose shades that complement your undertone—champagne and golds for warm tones, pinks and pearls for cool tones, and peachy hues for deeper skin. Always avoid chunky glitter; opt for fine shimmer that mimics natural radiance.
Step 2: Know Your Glow Zones
Apply highlighter where light naturally hits your face:
-
Cheekbones – Above your blush for a lifted look.
-
Bridge of the Nose – To subtly elongate.
-
Brow Bone – Just under the arch to open up the eyes.
-
Cupid’s Bow – For the illusion of fuller lips.
-
Inner Corners of Eyes – To instantly brighten.
-
Collarbones & Shoulders – Optional, but stunning for evening looks.
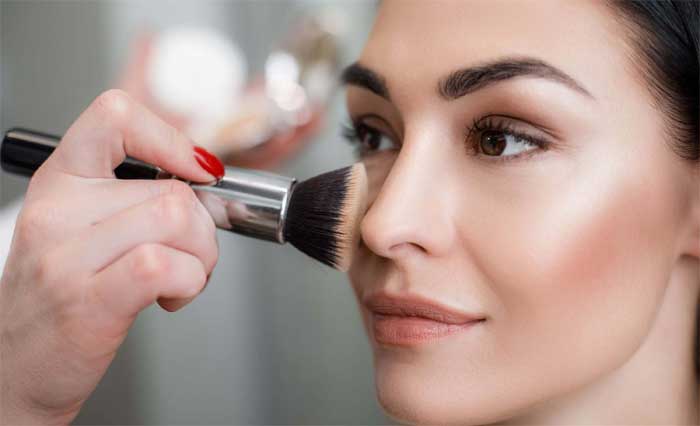
Step 3: Master the Technique
-
Powder: Use a fan or fluffy brush, sweep lightly, and blend.
-
Liquid: Dab with fingers or a damp sponge for a seamless finish.
-
Stick: Glide gently, then blend with fingertips.
✨ Rule of thumb: Less is more. Start small, build gradually.
Step 4: Balance the Look
Highlighter works best when the rest of your makeup is balanced. Pair with bronzer for a sun-kissed glow, or layer over blush for a healthy flush. Keep other areas matte if you want your glow to really stand out.
Step 5: Lock It In
Seal your look with a setting spray to blend everything together. For oily skin, blot your T-zone before highlighting. For evening events, touch up with powder highlighter for extra shine.
Final Thoughts
A highlighter is like the magic wand of your makeup bag—when applied with the right formula, technique, and balance, it enhances your natural features and elevates your entire look from flat to fabulous in seconds.
Comments are closed.